Thursday, November 14, 2013

Making Of Paintings Finals & CTN Convention


Making Of Paintings Finals

I will be at the CTN (creative talent network) Convention and for the first time I actually feel like I'm ready.
I will be there with Robert Tsai at booth T004.
I'm so excited!

Trey

Thursday, October 17, 2013

Thor & Midgard Serpent: Watercolor Painting Steps


Painting Process from left to right.

1: Image on watercolor paper
2: Blocking in
3: Early stage(everything is the color it should be)
4: Deepen Reds
5: Push Color on Serpent
6: Push colors (especially the darks which is key for watercolor)
7: Final colors and focus on details

bottom final image large

Trey

Thursday, October 10, 2013

Thor & the Midgard Serpent Process: Watercolor Start


The image is finalized, blown up, and transfered to watercolor paper.  I make my first pass with colors.  I'm really loose and sloppy at this stage.  At the early painting phase (block-in stage), I'm just going for coverage and getting the main colors down.
This early color stage is fun as the image just starts to look like something.

Trey

Thursday, October 03, 2013

Thor & the Midgard Serpent Process: Drawings and Value Sketches


Top: Tight Pencils and Value Sketch
Middle:         Toned Paper Drawing
Bottom:         Thor and Hymir Drawing

So on the small scale 3x5inch; I finalize the drawing.  Then I make a value sketch to get a better idea of my lights and darks.  For the first time I made a drawing on brown toned paper, to break down the neutral, darks and highlights of the image.
On the bottom, while the Thor and Hymir are rather small I made a tight pencil drawing of the characters.

Trey

Thursday, September 26, 2013

Thor & the Midgard Serpent Process: Thumbnail and Concept


Thumbnail and concept work

I start with a pen to make the first sketches, just playing with layout and overall look.
With a pen I can't focus on detail and it's great for just getting the idea out of my head.  
After my initial concept, I take what I like and then make a small 3x5 inch drawing to flesh the original idea out.

Trey

Friday, September 20, 2013

Tsukitora Process: Watercolor Painting Steps


Painting Process from left to right.

1: Image on watercolor paper
2: Blocking in
3: Early stage(everything is the color it should be)
4: Push colors (especially the darks which is key for watercolor)
5: Final colors and focus on details

bottom final image large

Trey

Friday, September 13, 2013

Tsukitora Process: Final Drawing to WaterColor Paper


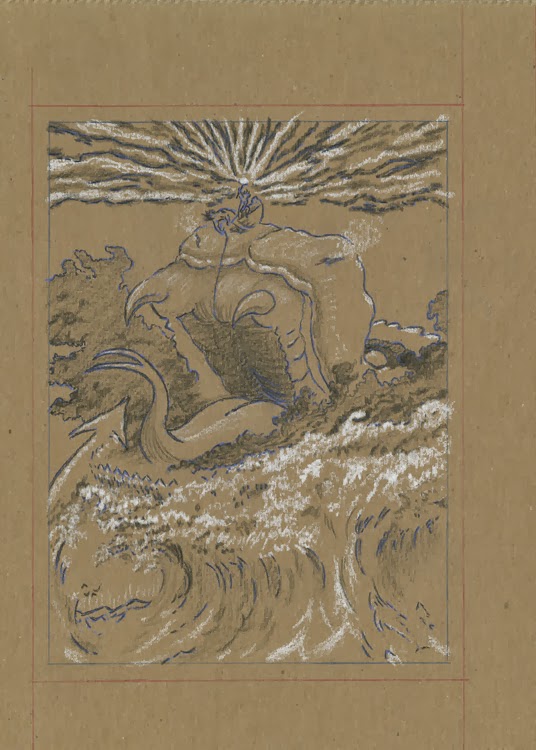
Final Drawing to WaterColor Paper.

I scan in the final drawing and enlarge it to about 20 inches by 28 inches.

I then go to a local printshop to get the enlarged image printed. (note: I can print it from my home printer but the image would need to be chopped up)

Then using Saral transfer paper with the enlarged print on top, copy by hand the image onto watercolor paper.  For this image, I used 300 pound Strathmore Rough Watercolor paper.

With the image on watercolor paper; I then tape the paper to a large wooden board using water activated gummed paper tape. This is to prevent the paper from warping too much.

Now it is ready to paint.

This part of the process can sometimes be the least interesting, but I think it has its own joy.  In a strange way it is the calm before the storm, before starting my freak outs and second guessing that I do for every painting.

I usually let it alone for a few day, but put it somewhere I can see it, and just imagine all of the possibilities!

Trey

Friday, September 06, 2013

Tsukitora Watercolor Process: Sketch


Tsukitora Watercolor Process: Sketch

This year I did two large watercolor paintings, and this is the first of the two.
Some of the work was easier because it is companion piece to the Torasora painting that was done a couple years ago.  Torasora was set in the daytime and to me represents the sun; Tsukitora is the reverse image and represents the moon.

As always the process starts with a sketch.
Top:       Tsukitora sketch
Bottom:  Torasora sketch

Trey